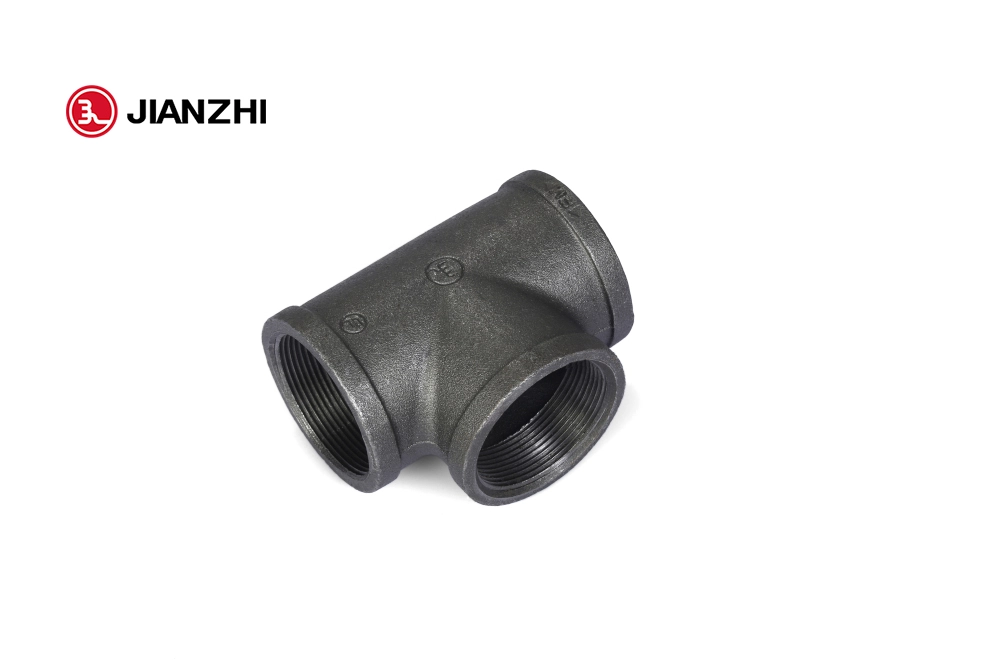
Installing pipe tee fittings is a straightforward process. Follow the steps below:
- Turn off the water supply: Before beginning the installation process, turn off the water supply to the pipes you are working on. This will ensure that there is no water flowing through the pipes, which can cause leaks or other problems.
- Measure and mark the pipe: Determine the location where you want to install the tee fitting. Use a measuring tape to measure and mark the pipe where the tee fitting will be installed.
- Cut the pipe: Use a pipe cutter to cut the pipe where you marked it. Make sure the cut is straight and even.
- Clean the ends of the pipe: Use a pipe cleaner or emery cloth to clean the ends of the pipe you just cut. This will remove any burrs or rough edges that could prevent the fitting from sealing properly.
- Apply pipe sealant: Apply pipe sealant to the threaded ends of the tee fitting. This will help create a tight seal and prevent leaks.
- Attach the tee fitting: Screw the tee fitting onto the ends of the pipe you just cut. Use a wrench to tighten the fitting securely.
- Turn the water supply back on: Once the fitting is securely in place, turn the water supply back on and check for leaks. If there are no leaks, you’re done!
How to Repair the pipe tee fittings and Valves of Your Sprinkler System
If you have a sprinkler system with pipe tee fittings and valves that are not functioning properly, you can try to repair them following these steps:
- Turn off the water supply: Before beginning any repair work, make sure to turn off the water supply to your sprinkler system to prevent any water from flowing through the pipes.
- Inspect the fittings and valves: Carefully examine the fittings and valves that need to be repaired to determine what the issue is. Look for cracks, leaks, or any other visible damage.
- Replace damaged parts: If you notice any damaged parts, such as cracked or broken fittings or valves, you will need to replace them. Make sure to purchase replacement parts that are compatible with your sprinkler system.
- Clean and prepare the area: Use a pipe cleaner or emery cloth to clean the ends of the pipes and fittings where the replacement parts will be installed. This will remove any debris and help ensure a tight seal.
- Install the replacement parts: Install the replacement parts as instructed by the manufacturer. Make sure to use pipe sealant on threaded fittings to create a tight seal.
- Test the system: Once the repair work is complete, turn the water supply back on and test the system to make sure that everything is working properly. Look for any leaks or other issues that may require further repair work.
If you are not comfortable making these repairs yourself, it is recommended that you hire a professional plumber or irrigation specialist to help you.
